Darkon White/Red Sword Tutorial
Supplies
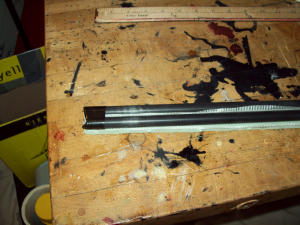
- Sword core (we used two .50 kite spar cores)
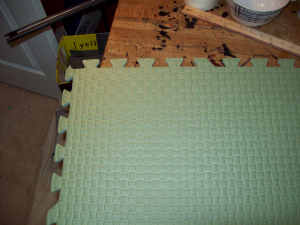
- 4lb foam (mat foam, can be found at hardware stores like Lowes or Home Depot)
- 2lb foam (blue foam, found normally at Walmarts)
- Stab tip foam (stadium seats, found at $5 below, etc)
- Duct tape (we used black)
- Double sided Carpet tape (found at Lowes, Home Depot, Ace Hardware, etc)
- Athletic tape (found at most sport stores)
- Masking tape (blue painters tape, found at Lowes, Home Depot, Ace, etc)
- White Electrical Tape
- Red Electrical Tape
- Cloth for cover (use a bottom weight fabric, found at Joannes, etc.)
- Hacksaw
- Scissors/Razor knife
Before we start
The following tutorial is how I make my white/red swords. This is not everyone’s way, and yes a lot of people will say “but I do it this way because its better” etc. Great, I ask that you put a tutorial together to help others. This particular build works well for me, its light/fast enough but sturdy enough that I don’t break it and have to make a new sword every couple events. So far I have three swords built exactly like this and I have not had to replace/repair them for a year and going, and yes I hit hard.
Size Matters
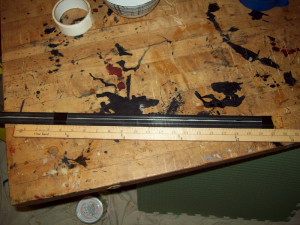
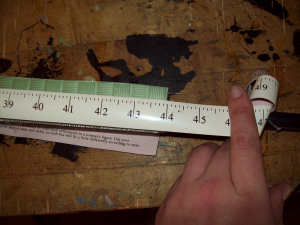
Before you start making your white/red sword you need to know the length that you are going for. Some people prefer a min length for lighter weight and faster speed; I prefer almost a max length for range, etc. In this tutorial we will be making a 36” total length white/red sword.
1) Cutting Core(s)
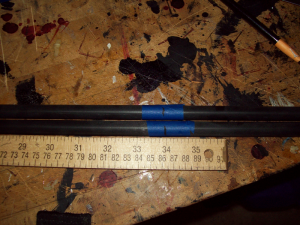
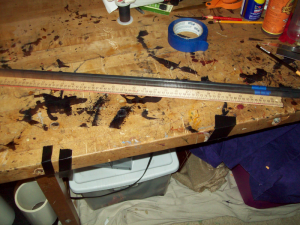
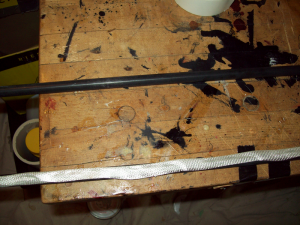
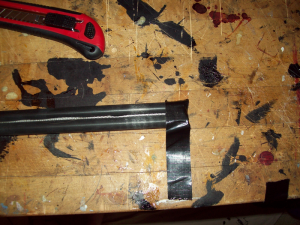
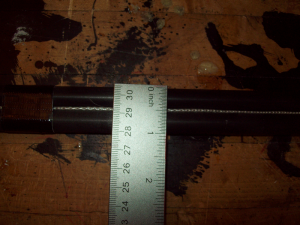
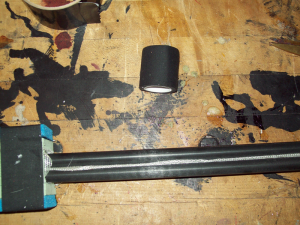
i. In this tutorial I used two kite spar cores, I like the way the handle shapes out as well as the blade. In order to get a 36” white/red sword you have to account for the foam that will be padding the ends. Therefore you will need to cut the cores at 34 inches. I used blue masking tape over the area I am going to cut in order to mark the spot AND to reduce splintering of the cores while they are being cut.
2) Binding the Cores
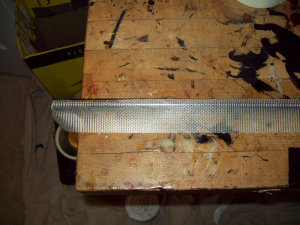
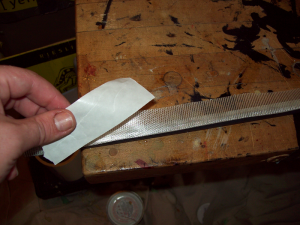
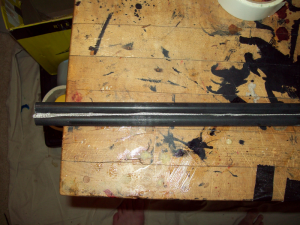
i. When multiple cores are used, having them twist can be an issue. In order to alleviate this we apply carpet tape between the cores. I don’t like it when the carpet tape spills over so I use the waxy paper that you pull off the back, in order to pat down or fold over excess carpet tape.
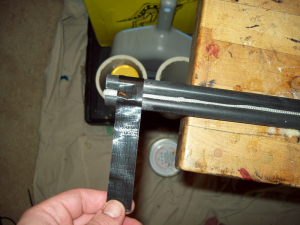
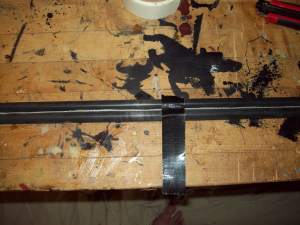
ii. Once the cores are stuck together using the carpet tape, you will then wrap duct tape around the top, middle, and bottom. I like to adjust the tape so it covers the edges a bit to once again prevent splintering and also to prevent the core from tearing at the foam that we will be applying later.
3) Creating the Blade
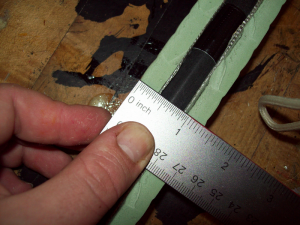
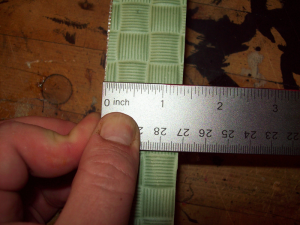
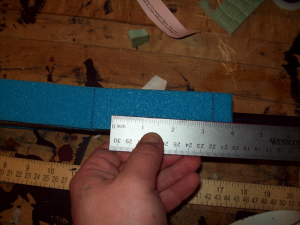
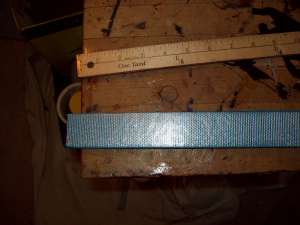
i. First you will need to measure the width of the two cores, ours is 1 7/16th inches wide. I went with a total blade length of 22 inches, so accounting for the stab tip and such we are going to start with 21.
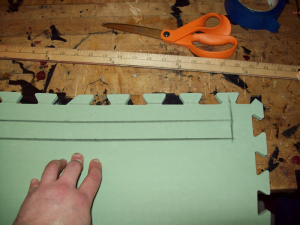
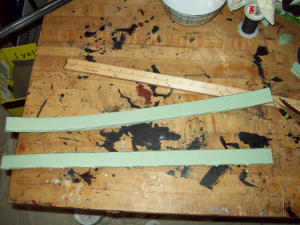
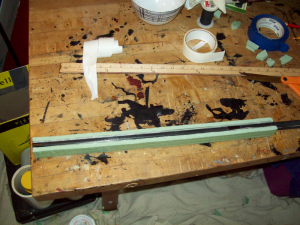
Which means our first two pieces of foam will be 1 7/16th inches by 21 inches. Cut two of these segments out of the 4lb (mat) foam like so.
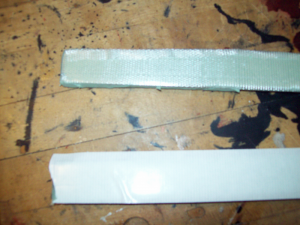
Then apply carpet tape to one side of each piece. I prefer to use the smooth side.
Remove the backing from the carpet tape, fold over any excess and apply to the cores.
ii. Now we are going to make the other strips to cover the striking area. First measure the width of the two pieces of foam added to the cores. That will be the width, and the previously mentioned 21 inches will be the length.
Apply the carpet tape to one side of each piece. Then take one of them and center it on the tip of the blade, like so.
Take the other piece and cut it down so it completes the two gaps we have on each side.
(you might be wondering at this time why we did it this way. First we need to cover the pointy end and two we don’t want large foam gaps near the last six inches of the weapon. This is because the majority of all strikes should happen within this zone and it’s the most likely to develop “sweet” spots, which is where foam breaks down and core comes through. That’s a bad thing.)
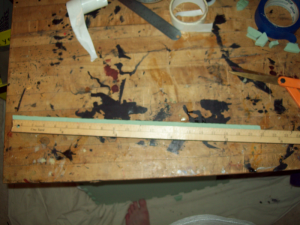
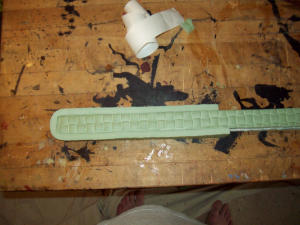
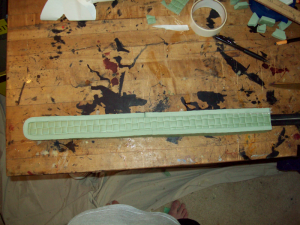
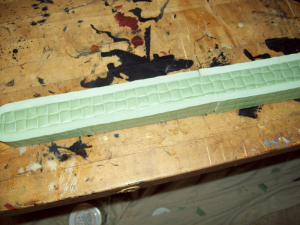
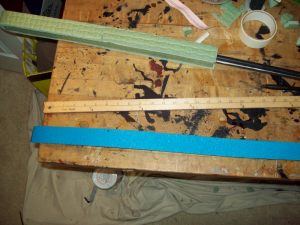
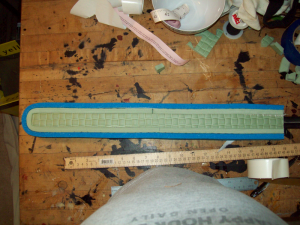
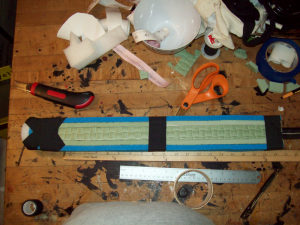
iii. Next layer (the actual striking surface). This layer will be 2lb (blue) foam. This layer is to cushion the strike a bit more. Once again we need to measure the total length. As we apply layers of foam the length increases as such. Width remains 1 7/16th inches.
As you can see we are now at 44 inches for total length of the next strip. In a perfect world you would do this with one piece. However I didn’t have a brand new roll of 2lb (blue) foam lying around. So my initial piece is 40 inches long.
Even accounting for the 44 inches, because of the way that foam folds over it was actually more like 46 inches. Just make sure the second piece you cut to finish it out, actually fits the gap. Then apply carpet tape to one side and apply to blade as so..
4) Stabbing Tip
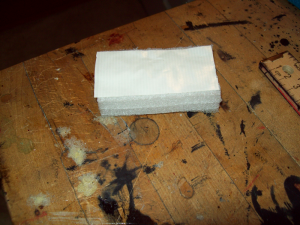
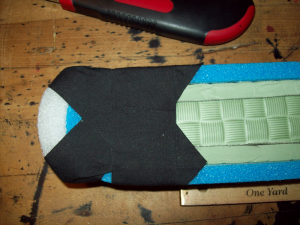
i. This is where the stadium seat cushion comes into play. I didn’t have one lying around so I used an alternate foam, but we are going to pretend otherwise. Cut a piece that is 2 3/4th inches by the width (which is still 1 7/16th inches) and apply carpet tape to one side.
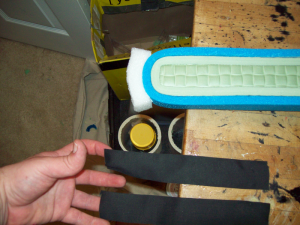
To make things easier cut two 8 inch pieces of athletic tape and set them aside. Then attach to the end of the sword.
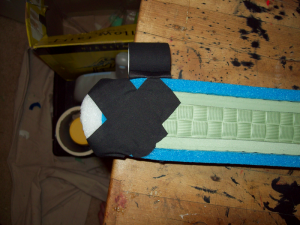
Using the athletic tape, you want to apply them along the edges so that the tape makes an X on the blade itself, like so.
When applying the athletic tape you want to pull the corner edges of the stadium seat cushion so it rounds off a bit. Then run another strip of athletic tape around the blade, holding those first strips down.
Do this two more times, one in the middle of the blade and one at the bottom.
5) Making the pommel
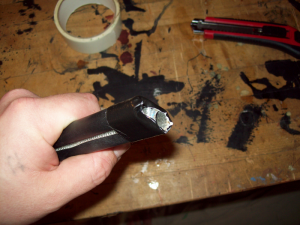
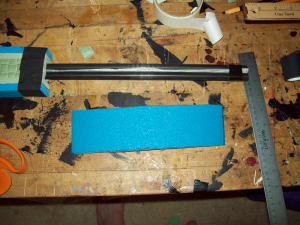
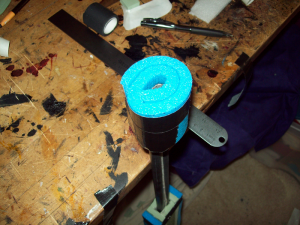
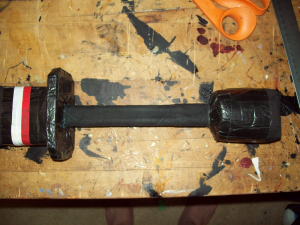
i. Cut a piece of 2lb (blue) foam that is 2.5 inches wide and 9 inches long.
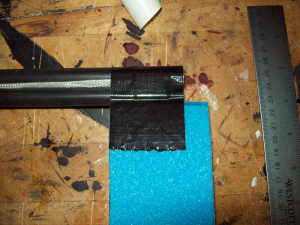
Then take duct tape and attach it to the core like so.
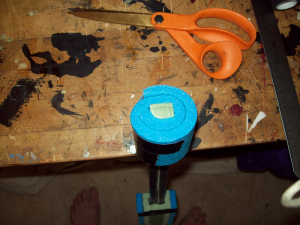
Notice that I have left at least .5 inches extended beyond the core. Now wrap the 2lb (blue) foam around the core.
Plug the hole, I used extra 4lb (mat) foam, and tape it over.
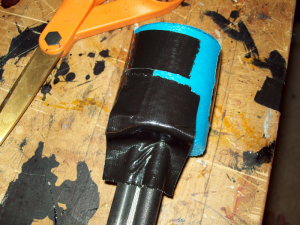
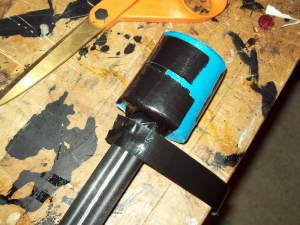
To finish attaching the pommel to the core you will need to take duct tape and run it in lengths to the core itself. I do this four times.
Then you will take yet more duct tape and run it around the pommel and another piece around the core which will synch the tape and pommel in place.
6) Cross guard
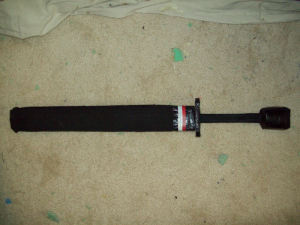
i. Unless you are making a bar you need a cross guard. This is as simple as taking a strip of 2lb (blue) foam and attaching it so it looks aesthetically like a cross guard. I didn’t take pictures but you can look at the finished product and see how I did it. I don’t spend a lot of time on this part as it sole function is to look like a cross guard.
7) Finishing touches
i. I like to put athletic tape on the handle to assist in grip. It’s a personal preference, some people use leather cord, etc.
ii. You will need to sew a cover for your blade and you need to put cloth over the bottom of the pommel. I am not going to cover sewing in this tutorial.
iii. Striking colors. You will need to mark the sword with one strip of white electrical tape to indicate that it is a white sword, and you will need to do the same with one piece of red electrical tape to show that it is stabbing.
Note:
- Cover all visible foam with either tape or cloth.
- The more tape you put on the weapon the heavier it will be.
PDF for download Darkon White Red Sword Tutorial

